-
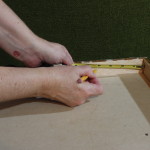
- Mark the distance you want your screw eyes from the top of your canvas, about 1/4 of the way down.
-
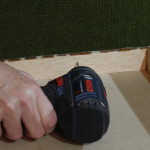
- You can drill a starter hole or you can pound the tip of a small nail in, just something your screw eye will sink in to.
-
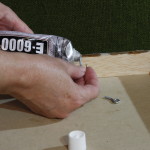
- Put a drop of strong glue on the end of your screw eye, I use E6000.
-
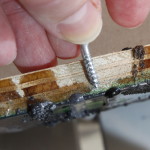
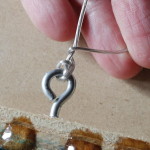
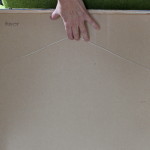
- Hold your screw eye up next to your canvas to make sure how far you can sink it.
-
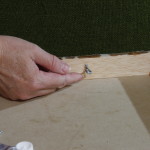
- Twist the screw eye into the canvas or panel with your fingers.
-
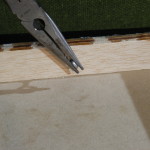
- Make the last few twists with pliers. Then, let the glue dry for half an hour.
-
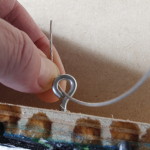
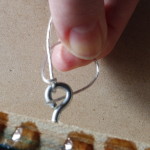
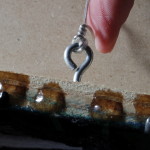
- Thread your picture hanging wire through the screw eye from the top.
-
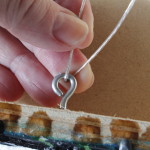
- Pull the wire through tightly.
-
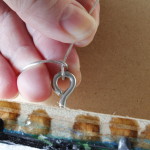
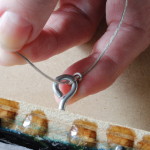
- Twist the short end over the long wire.
-
- Twist it to the side…
-
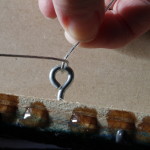
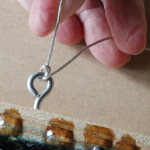
- …and then underneath.
-
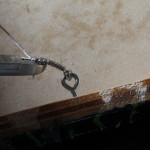
- Loop it underneath the long wire and then up through the screw eye.
-
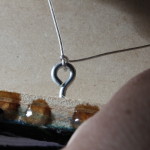
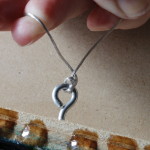
- Pull the wire through the screw eye.
-
- Pull the wire firmly so it’s tight.
-
- Loop the wire over the long wire…
-
- Then start twisting tight circles around the long wire.
-
- Keep twisting until you have about 7-10 tight circles.
-

- It should look like this.
-
- Snip off any remaining end.
-
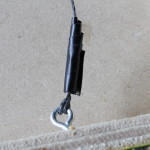
- If you have non-plastic-coated wire, wrap a small piece of black electrical tape around the ends so the gallery owners don’t poke their fingers when hanging.
-
- Figure out the length of your hanging wire and do the same procedure to the 2nd side. Note, if your painting is heavy, make the wire a little tighter as it will stretch and lengthen as the weight of the painting settles on it.
-
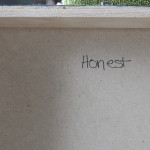
- I write the title of the painting on the back of each piece. I also tape a “painting tag” on the back until the piece sells. This makes it easy for exhibiting, even if the gallery prints their own tags, all the info is on the one I taped to the back.
-
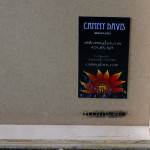
- You are finished! As a last touch, I glue my business card and stamp my website onto the back. I paint on panels, if you are working with canvas, maybe attach it to the inside of the stretcher bars.